Check out the video for this topic here: https://youtu.be/AugMX-AxfQQ
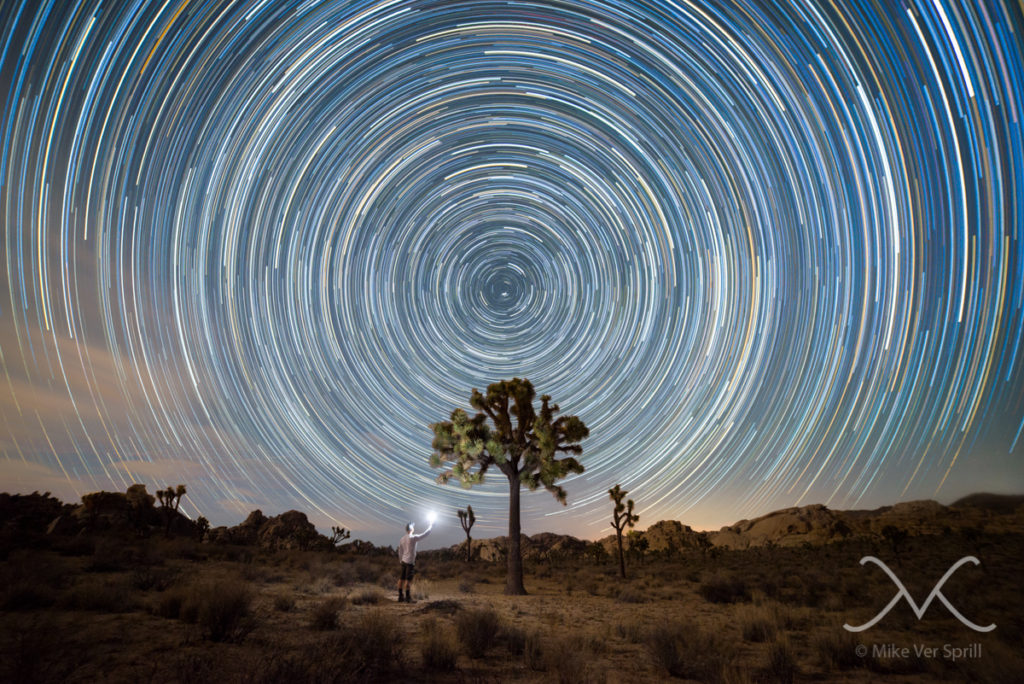
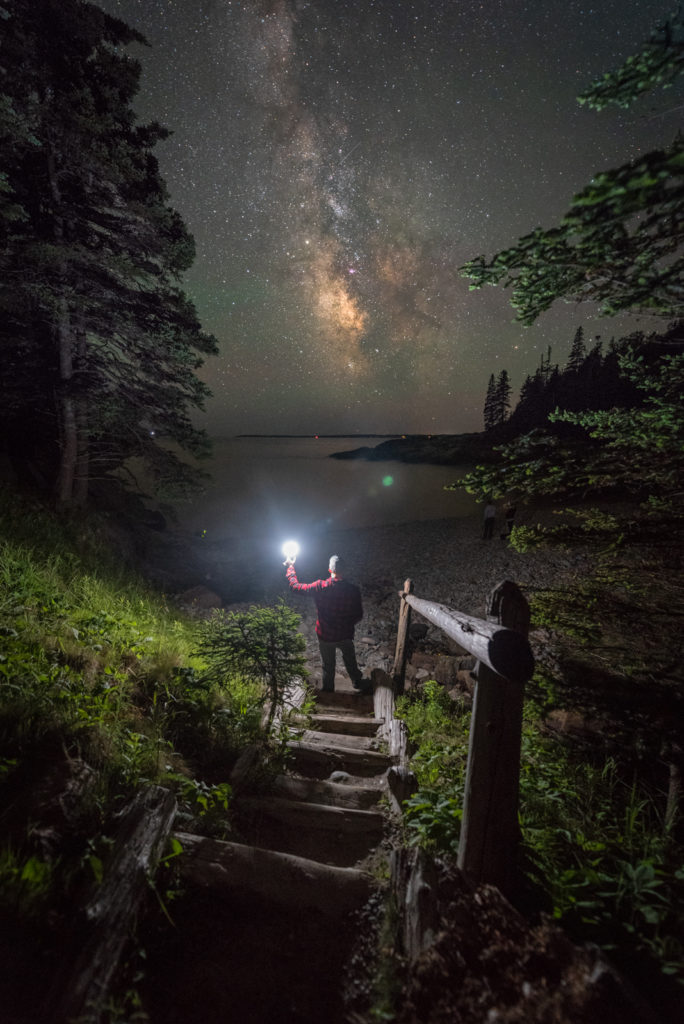
I often get asked what flash equipment and settings do I use to take pictures like the one above, so today I will address that common question. First let’s start with the light sphere that I am using which is actually a $10 knock-off of a Gary Fong Light Sphere (aka light dome). Here is a link for the Gary Fong version https://amzn.to/2u09GAb because unfortunately, it doesn’t look like the one I have is available anymore. Gary Fong may have a patent which stopped the sale of the knock-off versions on Amazon. (don’t quote me on that, I’m just guessing) Check Ebay as well!
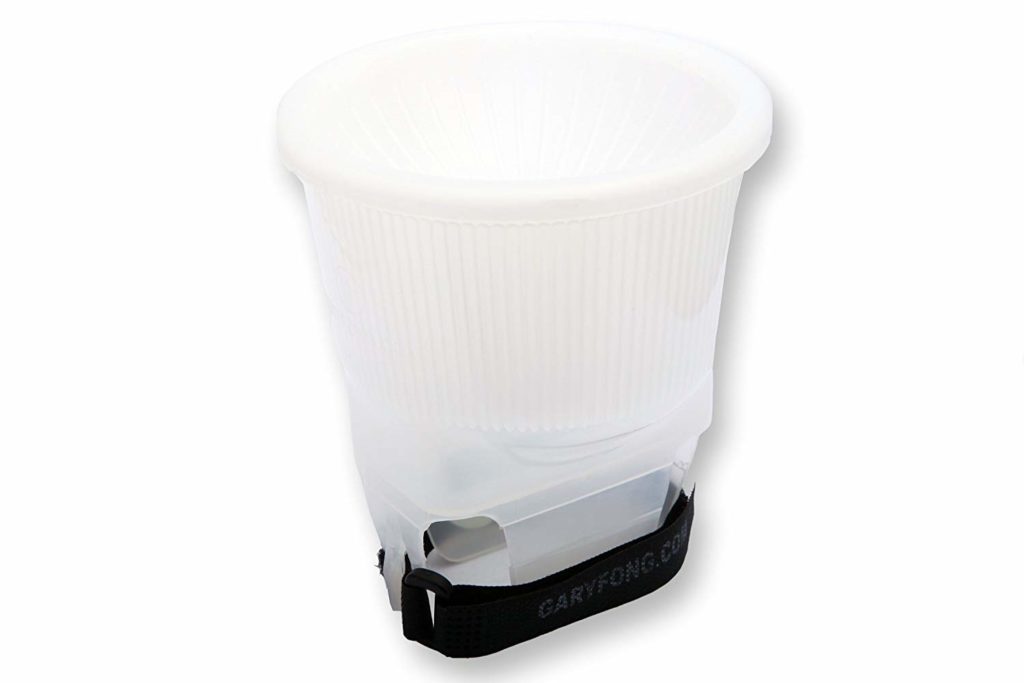
They do make a collapsible version, but it was not translucent, but instead it was more transparent (clear-ish) and I did not like the results. I was getting a bad lens flare from the collapsible Gary Fong light sphere vs the translucent white one which didn’t collapse down. So that is something to be aware of if you plan on purchasing one of these. If you decide to get a collapsible version then you may want to put a piece of translucent film inside of it or some other type of diffuser.
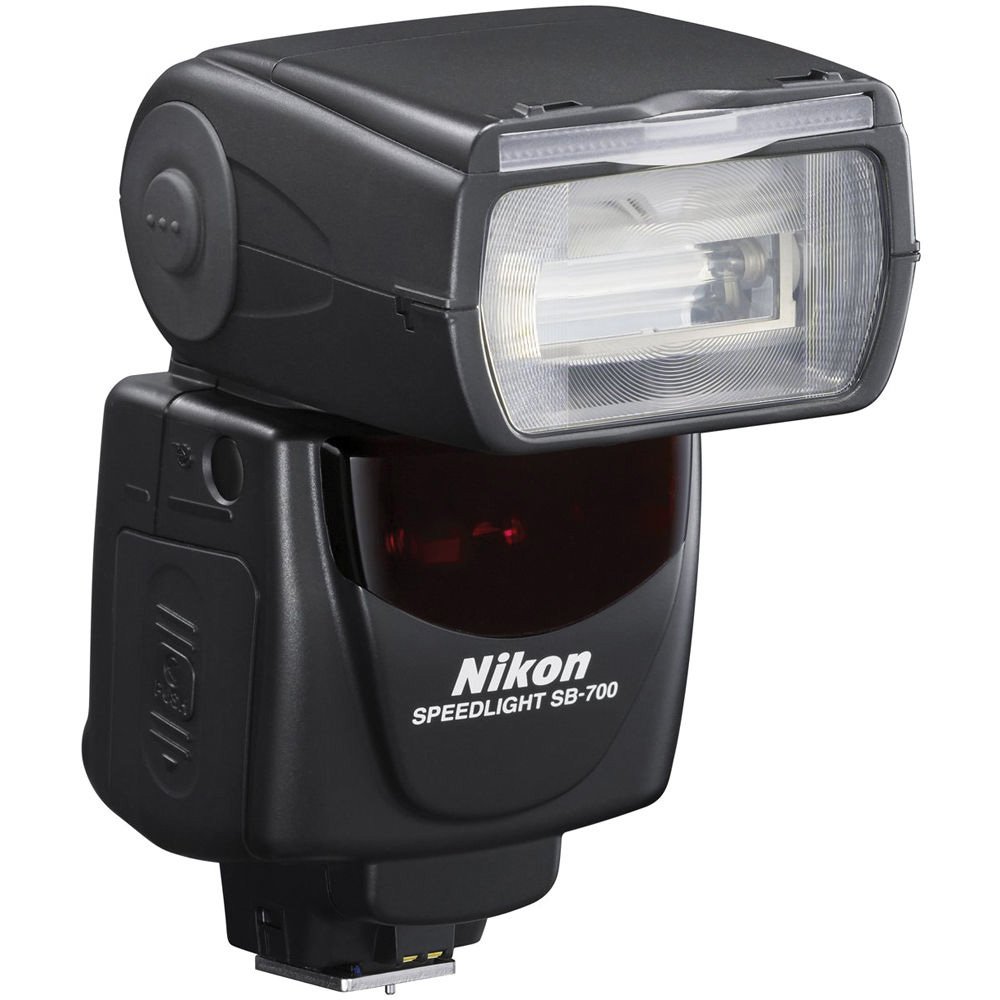
The next thing we need is an external speedlight flash. I am using a Nikon SB-700 Flash with my D800 camera, however you don’t need to get a really expensive speedlight. Typically your camera manufacturer lights are more expensive, however feel free to get a cheaper third party speedlight for a fraction of the cost. I’ve seen them as low as $40 on amazon. They may or may not have TTL, but that is fine. We will be using manual power mode to set up our flash so TTL is not a requirement.
You also need a way for your flash to communicate with you camera while it is off of the camera’s hotshoe. This is where remote flash triggers come into play. These little transmitters talk to each other, which allows the flash to get triggered while you are holding it off the camera. Since I use to shoot weddings I have an expensive pair of pocket wizards.
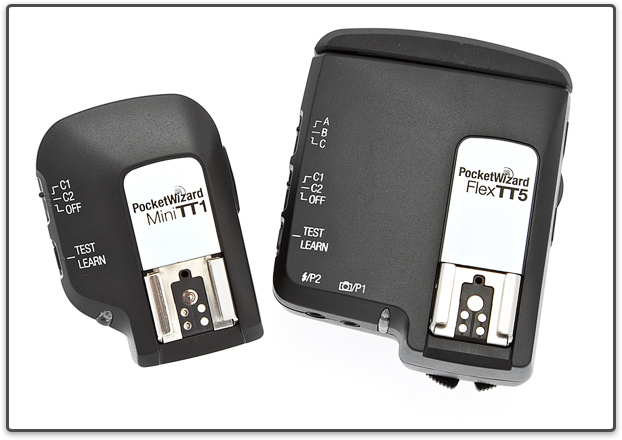
Now these devices come in many shapes, sizes and prices. Now-a-days they make relatively inexpensive remote flash triggers and you can even find affordable kits which include the flash as well. You need a transmitter which sits on your camera’s hotshoe and a receiver which will stay connected to the flash. They all vary slightly so read the manual to figure out the best way to set them up with your camera, depending on which brand you get.
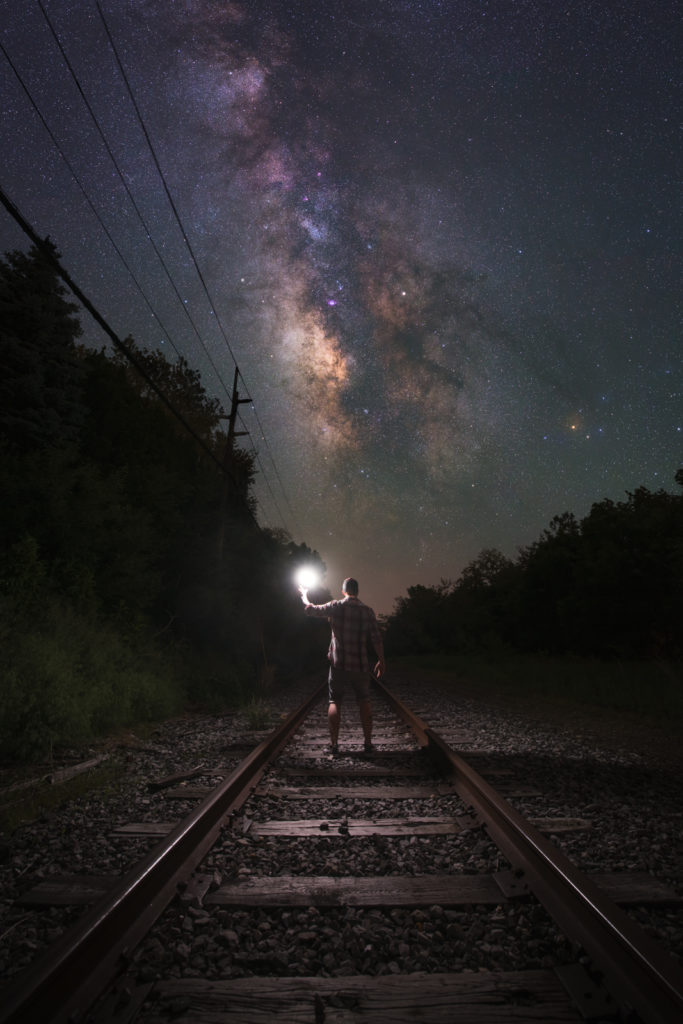
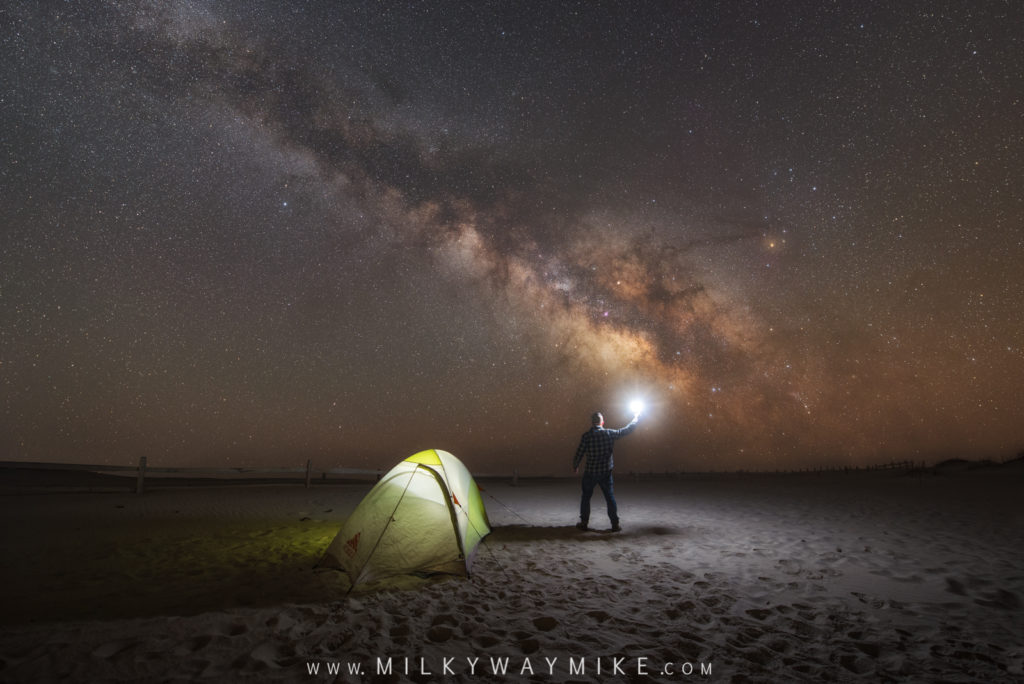
Once you have you flash and triggers, we need to set up our camera to right settings. When taking selfies like the one above, I like to put my camera on timer mode set to 10 seconds which gives me enough time to get into position. I also set my camera to Rear Curtain Sync Mode which may be called 2nd Curtain Sync Mode on other cameras. Rear Curtain Sync Mode takes triggers the flash towards the end of the long exposure instead of at the beginning. The benefits of this are you will lest likely have motion blur from your swaying arm as you stand still for the picture because a flash of light can stop motion. If the flash goes off in the beginning of the picture and there is enough ambient light to capture you, it will also capture your slight movements creating motion blur. If you are moving in the beginning of the exposure and the flash is towards the end, then that pop of light will stop your motion and reduce the chance of the early swaying from being noticeable. Check with your camera’s manual to see how to put your flash in Rear Curtain Sync and how to set / adjust your timer settings.
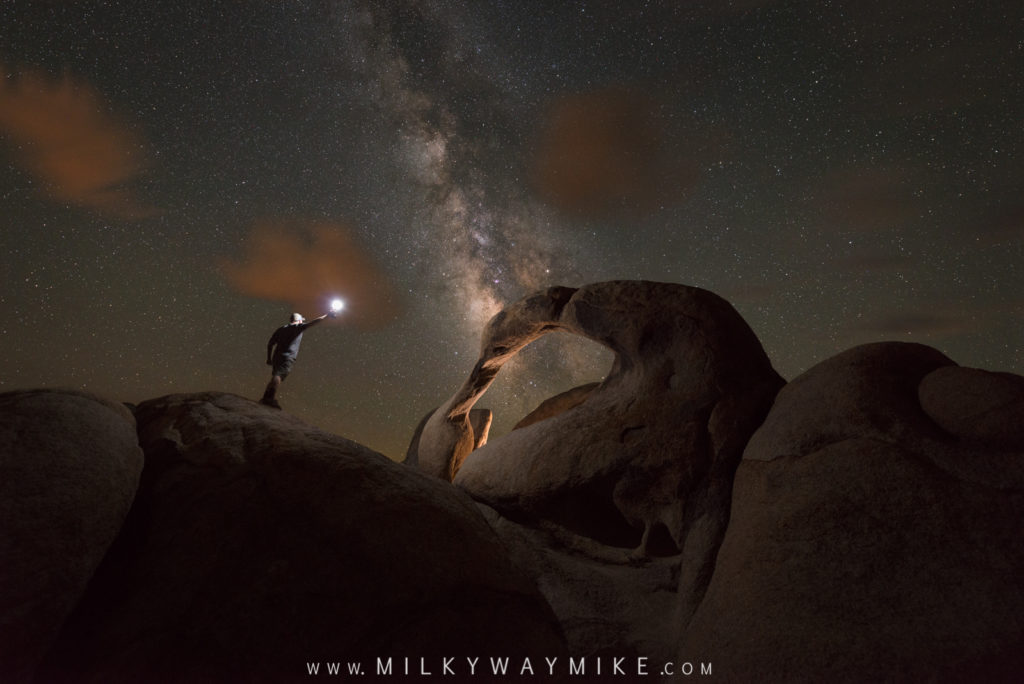
Next we need to determine the settings for our camera and flash. This boils down to personal preference and location. Typically I try to find a balance between the ambient light and my flash. I like to start with my flash on manual power set to 1/4 power. For my camera settings I start with a shutter of 20 seconds, ISO 4000, F 3.2. I then make some tweaks after doing several test shots. So this is where you will have to play around an figure the best settings for the location that you are in.
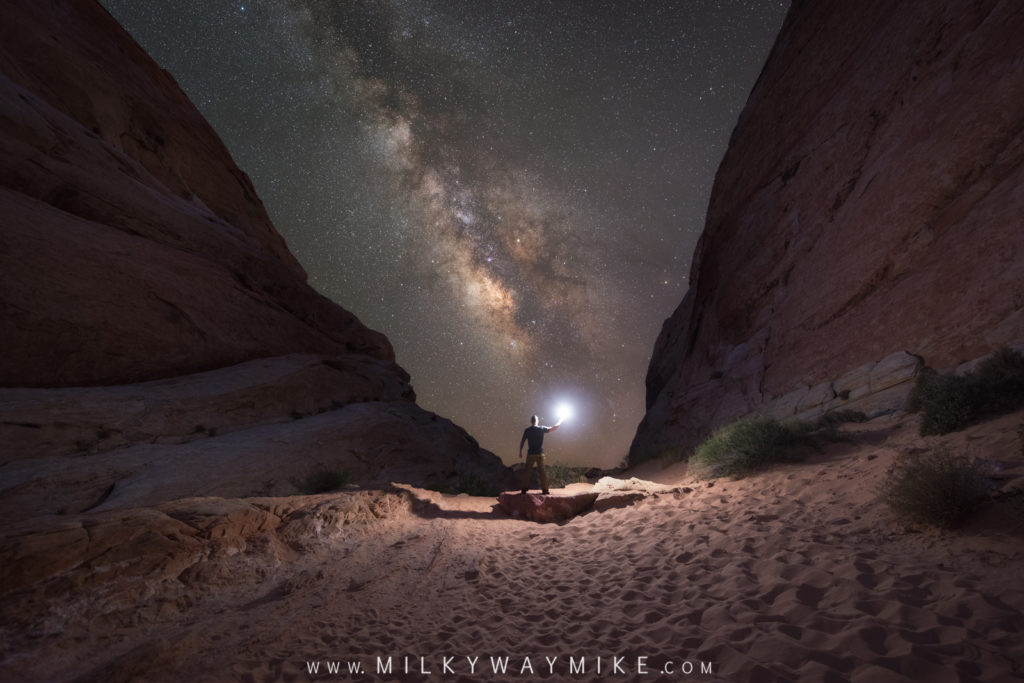
Another question I often get is…. Can you stack your selfie shots using SLS or Sequator? And the answer is YES!
To create cleaner images with me in them I like to stack 4 – 8 shots. To do this I simply go to my “Self-timer” settings in the camera and I am able to set the number of shots I want to take and the interval between each shot.
I’ll set it to 8 shots with an interval of 2 seconds. Just remember you have to stay still in that same position with your arm up for the whole duration of images. Standing still with your arm up at your side for a long period of time does get tiring so just be aware of that when choosing the number of shots you want to stack.
So that’s all there really is to it folks. Now get out there and get creative!!!
Check out the video on my youtube channel as well!
2 Comments
How do you edit your tracked milkeyway shot with a selfie of yourself. I don’t really understand the best way to do this because of the lamp light in the photo.
That’s a little hard to explain in text since it requires some tricks in photoshop… I can make a youtube tutorial for you in a couple weeks!