Hey fellow photographers and videographers I wanted to take my star trail time-lapse footage to the next level and at the same time teach videographers how to create a layer mask in Final Cut Pro (FCP). I decided to make this tutorial since I was having a hard time finding information to create a custom mask in FCP. I felt compelled to share with everyone how easy it is to create a layer mask and wanted to show you another technique that you can do with your star trails! You can also use this mask for many other applications, but just remember that the mask is for a static object or foreground. You can probably use the mask for two motion videos, just keep in mind that you would have to move and keyframe the mask. For this tutorial I will be using a still photo of Judge’s Shack as the foreground and my vortex star trail video for the sky. This is an intermediate tutorial so please have some basic understanding of FCP before proceeding with this. If you learn better visually I have a video tutorial as well and you can see how my results turned out in 4k!! Layer Mask in FCP Video Tutorial in 4k
Lets get started by opening up the videos (and/or pictures) you would like to create a masked layer for in FCP. In my case I would like to mask off the abandoned house and replace the sky with a spiral star trail time-lapse video. This will keep the foreground constant while the sky above changes!
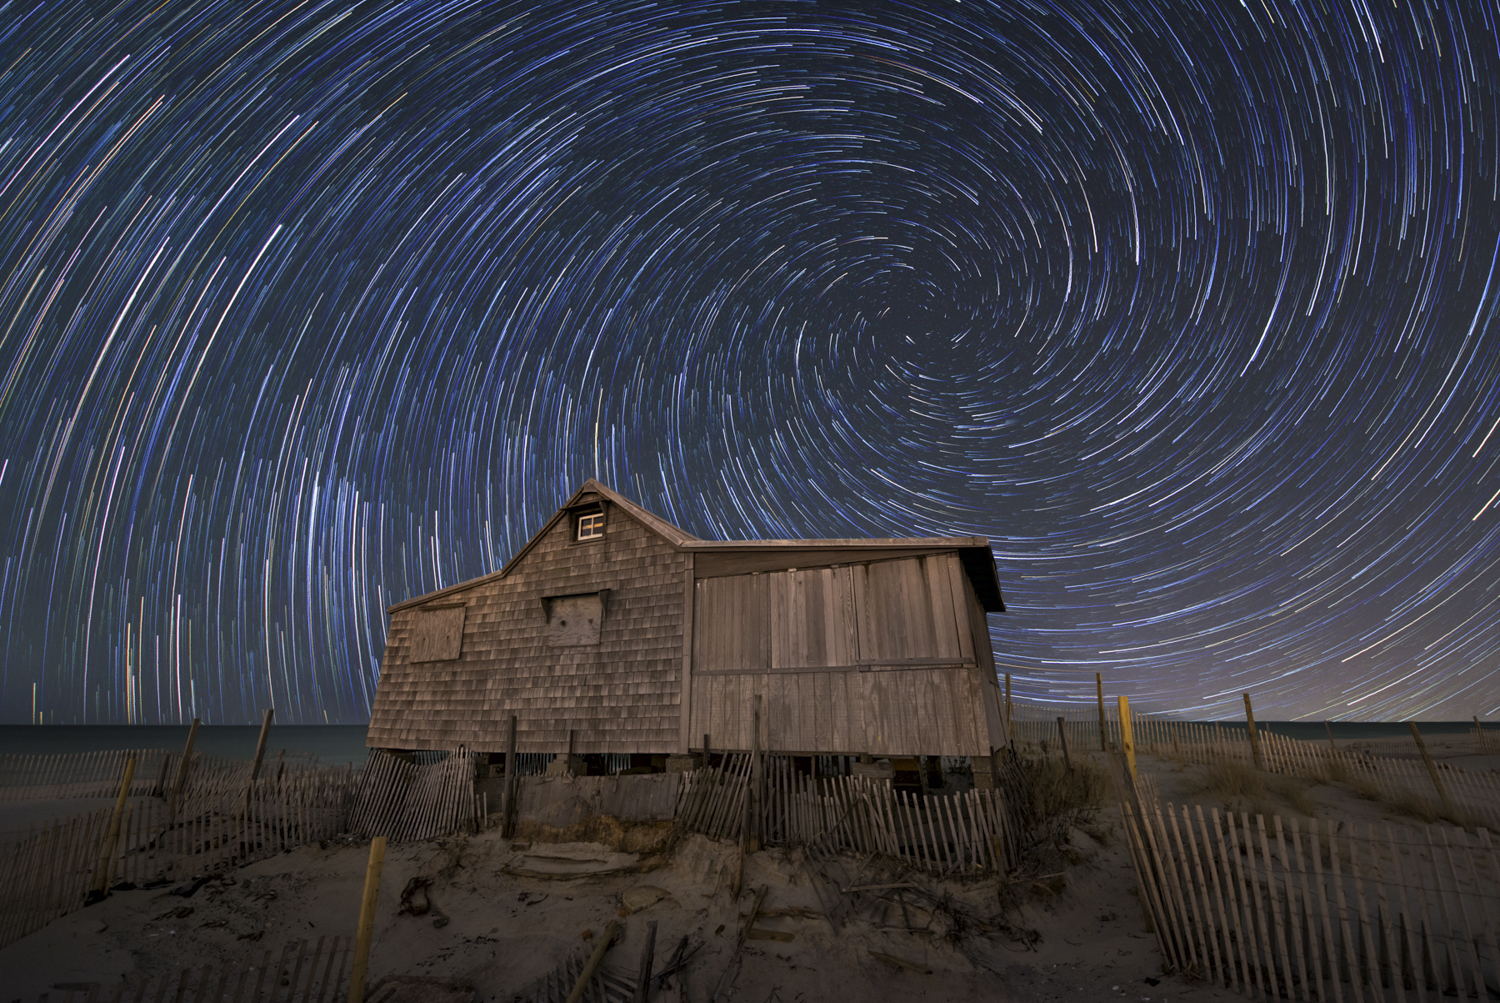
Drop the image and video into the time line making sure that image is on top of the video. You may need to change the duration time of the image so it is equal to the videos length in time.
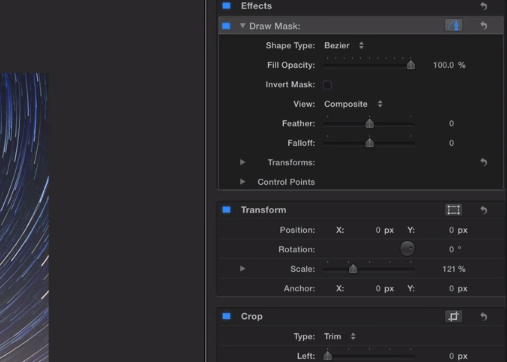
Next you need to scale the image so it is the same crop ratio as the video clip we are using. Go to the transform box on the right and increase the scale percentage.
After scaling the image to your desired size, go to the Effects Layer to the right of the time line and click masks. Then click on draw mask and drag it to the top layer in your time line. A “Draw Mask Box” will appear on the upper right corner in your work space. 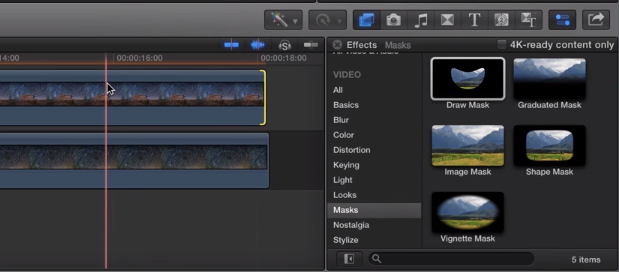
A pen tool will appear with a message “Click to Add a Control Point”. Now you are ready to make a custom mask on anything that you would like to keep in the video. 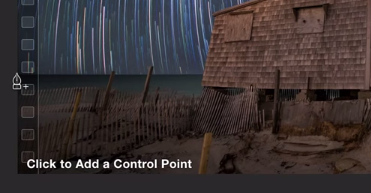 Zoom in to 150-400% to get the best accuracy for your mask that you are making. When you are zoomed a little red navigation box will appear on the right of the screen so you can move around your work space while you trace.
When you are finished tracing, close the mask by going outside the work space and connecting the last control point with the first control point. Anything outside the control points will disappear and the video below will be revealed. 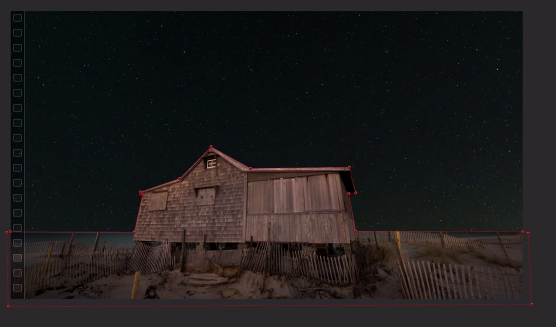
Position your bottom video layer to your liking and scrub through the video to ensure accuracy. 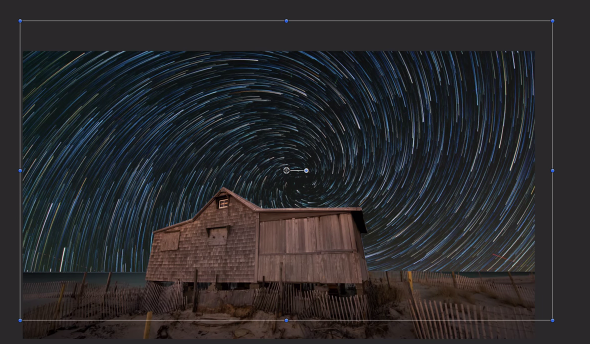
Save the video to your favorite video settings and you are all done! You now combined a static image or video with a motion video. Please take the time to subscribe and like my youtube channel to help support me. Thank you so much!